How to Make Homemade Hummingbird Nectar: A Simple Recipe Guide
Creating a welcoming environment for hummingbirds in your garden is easier than you might think. Homemade nectar not only attracts these charming birds but also ensures they get the best nutrition without harmful additives. Using a simple recipe, you can whip up a batch that keeps them coming back all season long.
This guide will show you how to make hummingbird nectar in just a few easy steps, offering insights into the right sugar-to-water ratios and tips for storage. By using homemade nectar, you’ll avoid the dyes and preservatives found in many commercial options. Get ready to enjoy the sight of these vibrant creatures flitting about your feeders while knowing you’re providing them with a healthy food source.
Understanding Hummingbird Nectar
Homemade hummingbird nectar is a simple yet essential component in attracting these magnificent birds to your garden. But what exactly is hummingbird nectar, and why is it so important? Let’s break it down.
What is Hummingbird Nectar?
Hummingbird nectar is primarily a mixture of sugar and water, created to mimic the natural nectar found in flowers. This sweet solution plays a crucial role in the diet of hummingbirds, providing them with the necessary energy to support their rapid metabolism. While they feed on nectar from various flowers, homemade mixtures are an excellent option because they are free from harmful additives like artificial colours.
For a more thorough understanding of the significance of nectar in their diet, you can visit Hummingbird Food Guide.

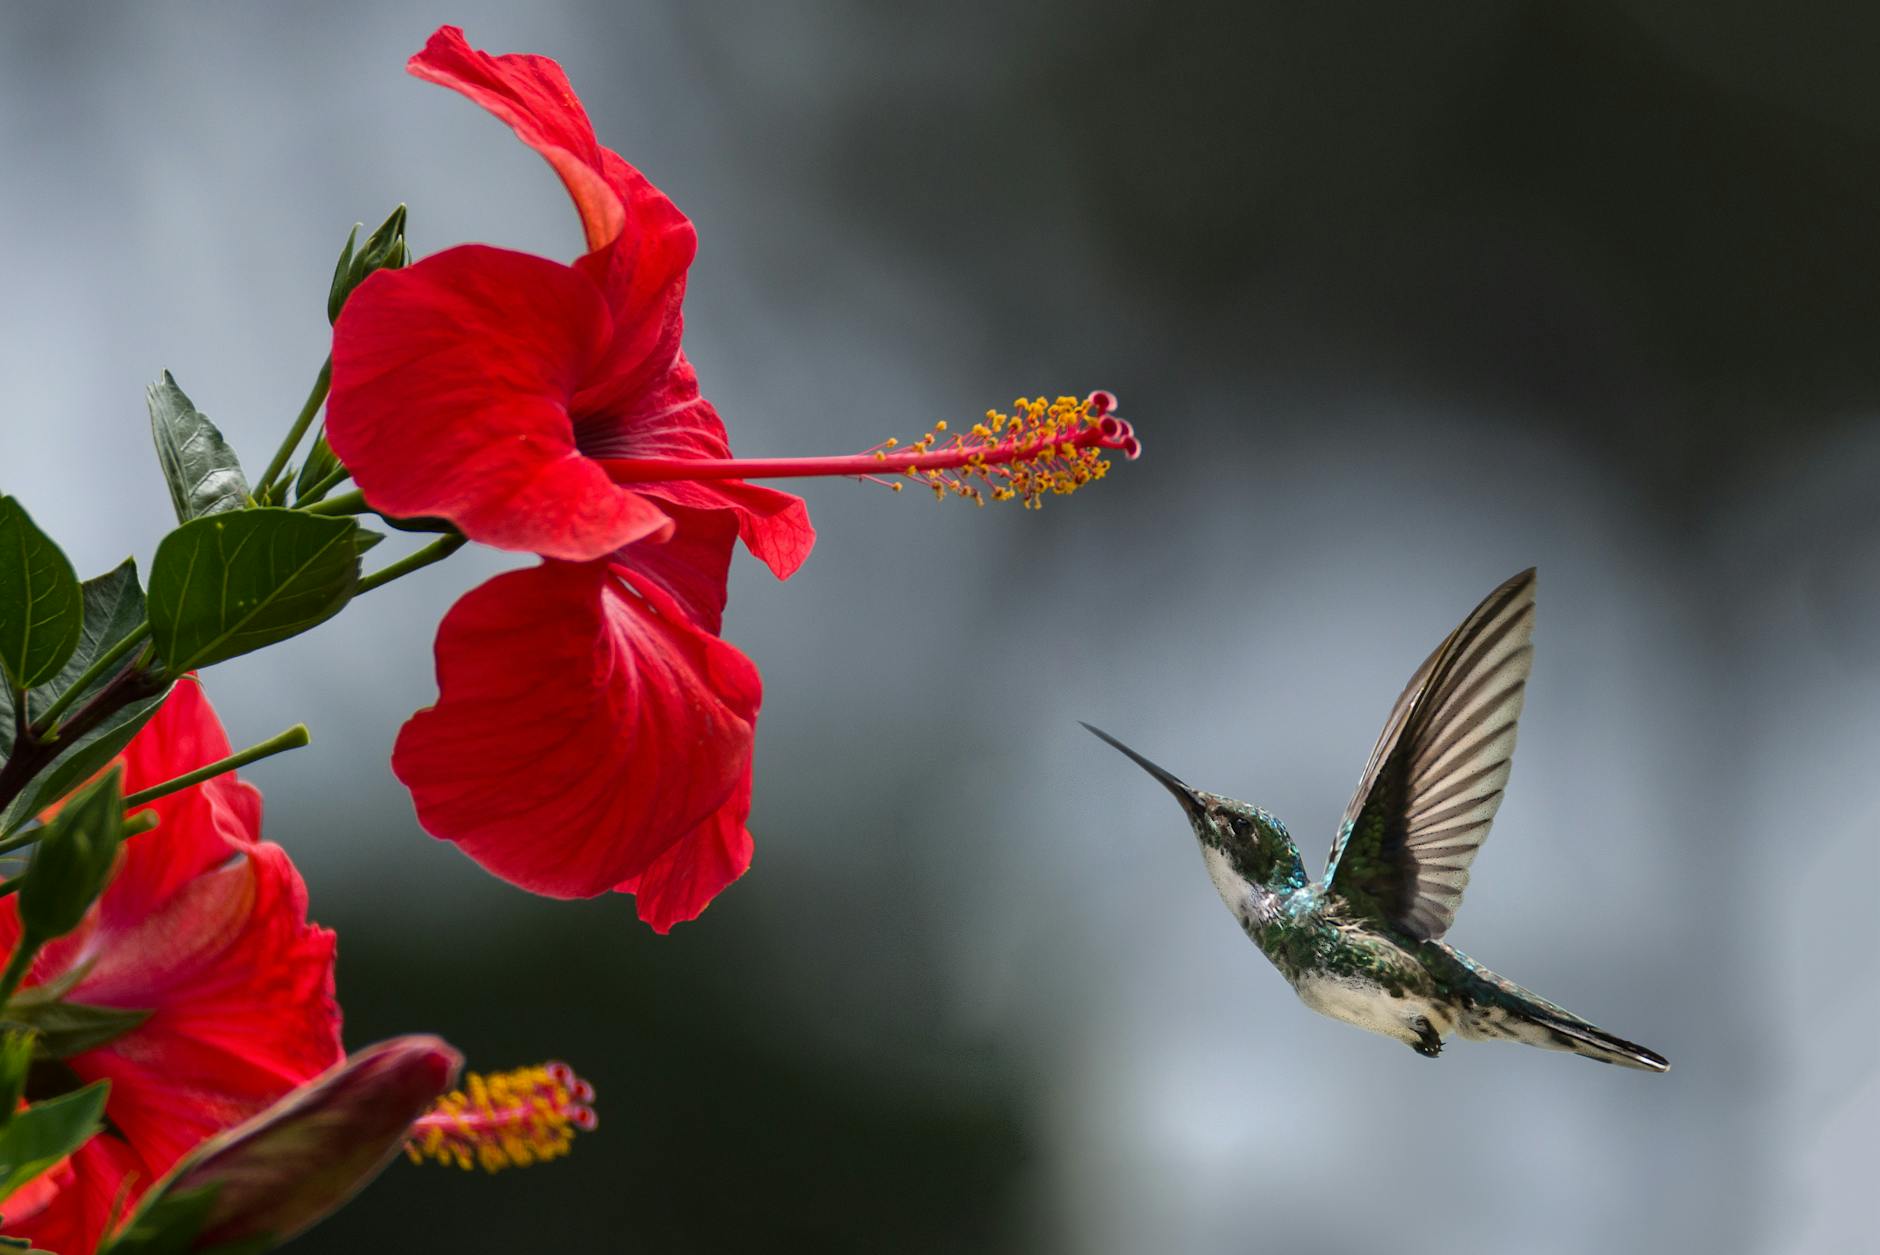
Photo by Chris F
Nutritional Needs of Hummingbirds
Hummingbirds have unique dietary requirements that demand a specific sugar content. The ideal nectar mix is typically a 1:4 ratio of sugar to water, providing approximately 20% sugar solution. This concentration is similar to what they would naturally consume from flowers.
In addition to sugar, hummingbirds require protein, which they obtain from small insects, arachnids, and even tree sap. Though nectar fuels their energy, a balance of nutrients is vital in their diet. You can find more detailed information on their nutritional needs at Beyond Nectar: The Surprising and Varied Diet of Hummingbirds.
Why Homemade Nectar?
Creating your own hummingbird nectar offers multiple benefits over store-bought options. Firstly, it guarantees freshness, ensuring your feeder contains a safe, nutritious solution for the birds. Many commercial products contain artificial colours and preservatives, which can be harmful.
Homemade nectar is:
- Cost-Effective: Ingredients like granulated sugar and water are inexpensive and readily available.
- Customisable: You can adjust the sugar concentration to meet the specific needs of your local hummingbird species.
- Eco-Friendly: Making nectar at home reduces packaging waste associated with commercial products.
Moreover, hummingbirds often prefer homemade nectar as it resembles their natural food sources more closely. For more insights on the advantages of making your own nectar, check out Why Making Your Own Hummingbird Food is the Best Choice.
Enjoy the vibrant presence of hummingbirds in your garden by providing them with the best homemade nectar, free from harmful additives and tailored to their dietary needs.
Homemade Hummingbird Nectar Recipe
Making homemade hummingbird nectar is a rewarding and straightforward process. Not only is it economical, but it also allows you to provide a safe, chemical-free food source for these stunning birds. Here’s how to whip up a batch that will keep your feathered friends happy and healthy.
Ingredients Needed
To create your own hummingbird nectar, you will need just two primary ingredients:
- Granulated sugar: 1 cup (preferably white granulated sugar)
- Water: 4 cups (ideally filtered or dechlorinated)
Feel free to adjust the quantities based on your needs, but maintaining the 1:4 sugar-to-water ratio will yield the best results.
Step-by-Step Instructions
Follow these simple steps to prepare the nectar:
- Boil the Water: Start by bringing the water to a boil in a pot. This helps dissolve the sugar thoroughly and eliminates any unwanted impurities.
- Add Sugar: Once the water is boiling, remove it from the heat. Stir in the sugar gradually and keep stirring until it dissolves completely.
- Cool the Mixture: Let the solution cool down to room temperature. This is crucial as putting hot nectar into a feeder can harm the birds.
- Store Properly: Once cooled, pour the nectar into your feeders. If you have extra, you can store it in a clean jar in the refrigerator for up to a week.
- Clean Feeders Regularly: Change the nectar every few days, especially in hot weather, to prevent fermentation and bacterial growth.
For a detailed recipe with additional insights, check out resources like How to Make Hummingbird Nectar.
Tips for Best Results
To ensure your nectar is both effective and safe, consider these helpful tips:
- No Red Dye: Avoid adding food colouring, even red dye, to the nectar. Hummingbirds are attracted to the colour of the feeder itself, not the nectar.
- Temperature Matters: Always let the nectar cool before filling feeders. Hot nectar can scald hummingbirds.
- Use Clean Equipment: Ensure all utensils and feeders are clean before use. Bacteria can grow quickly in sugary solutions, potentially harming the birds.
- Monitor Feeder Levels: Keep an eye on feeder levels and refill regularly to ensure that hungry hummingbirds aren’t left wanting.
- Watch for Pests: If you notice ants or other pests on your feeders, consider using a feeder with ant moats to keep them at bay.
Following these guidelines will help you create the best homemade nectar possible, keeping your garden buzzing with the delightful presence of hummingbirds.

Photo by Philippe Donn
How to Store Hummingbird Nectar
Once you’ve made your homemade hummingbird nectar, proper storage is essential to maintain its freshness and avoid contamination. This section covers how to cool and store nectar effectively, as well as its shelf life under various conditions.
Cooling and Storing Nectar
After preparing your nectar, it’s vital to let it cool fully before transferring it to any storage containers. This prevents heat from causing damage to feeders and ensures a safe feeding environment for the birds. Here’s how to store your nectar properly:
- Cool Completely: Allow the nectar to sit at room temperature until it has fully cooled. This step is crucial, as hot nectar can harm the hummingbirds.
- Use Airtight Containers: Once cooled, pour the nectar into clean, airtight containers. Glass jars or well-sealed plastic containers work best. Avoid using containers that previously held other foods.
- Refrigerate as Needed: If you have leftovers, store them in the refrigerator. This slows down microbial growth and prevents spoilage. Nectar can typically last up to a week in the fridge. Store it in the coldest part and clearly label it as “hummingbird nectar” to avoid any mix-ups. For more details on storage methods, visit The Best Way To Store Extra Hummingbird Nectar.

Photo by Lynn Nash
Shelf Life of Homemade Nectar
Understanding how long your nectar lasts is key to keeping your feeders filled with fresh, tasty solutions for hummingbirds. Here’s a breakdown of its longevity based on storage conditions:
- Room Temperature: If kept out in a feeder, homemade nectar typically stays fresh for about 3 to 5 days, depending on the weather. In warmer temperatures, it’s best to change the nectar every couple of days to prevent fermentation.
- Refrigerated: When stored in the fridge, homemade nectar can last up to a week. However, the colder the refrigerator, the longer it holds up. Always check for any signs of spoilage or mould before using.
- Freezing Nectar: If you have a larger batch and want to store it for extended periods, you can freeze the nectar in suitable containers. It can last for several months this way, but make sure to thaw it properly before offering it to the birds.
Regularly monitoring your feeders and replacing any old nectar will encourage hummingbirds to visit frequently, ensuring they get the best nutrition at all times. For further insights into how long your nectar can last, see How Long Will My Hummingbird Nectar Last?.
Tips for Attracting Hummingbirds
Attracting hummingbirds to your garden can be a delightful experience. Their vibrant colours and energetic behaviour add life to any outdoor space. Here are some essential tips to help you create an inviting environment for these beautiful birds.
Choosing the Right Feeder
Selecting the right feeder is crucial for attracting hummingbirds. Some feeders are designed specifically to cater to their needs. Here are a few types you might consider:
- Suction Cup Feeders: These attach directly to windows, allowing you to observe hummingbirds up close.
- Hanging Feeders: These can be placed throughout your garden, often with multiple feeding ports to accommodate more birds.
- Platform Feeders: Ground-level feeders can be great for offering food options like fruit.
Look for feeders with red accents as hummingbirds are naturally drawn to this colour. Clean designs with few parts are easier to maintain. For a detailed guide on feeder selection, visit What’s the Best Hummingbird Feeder?.

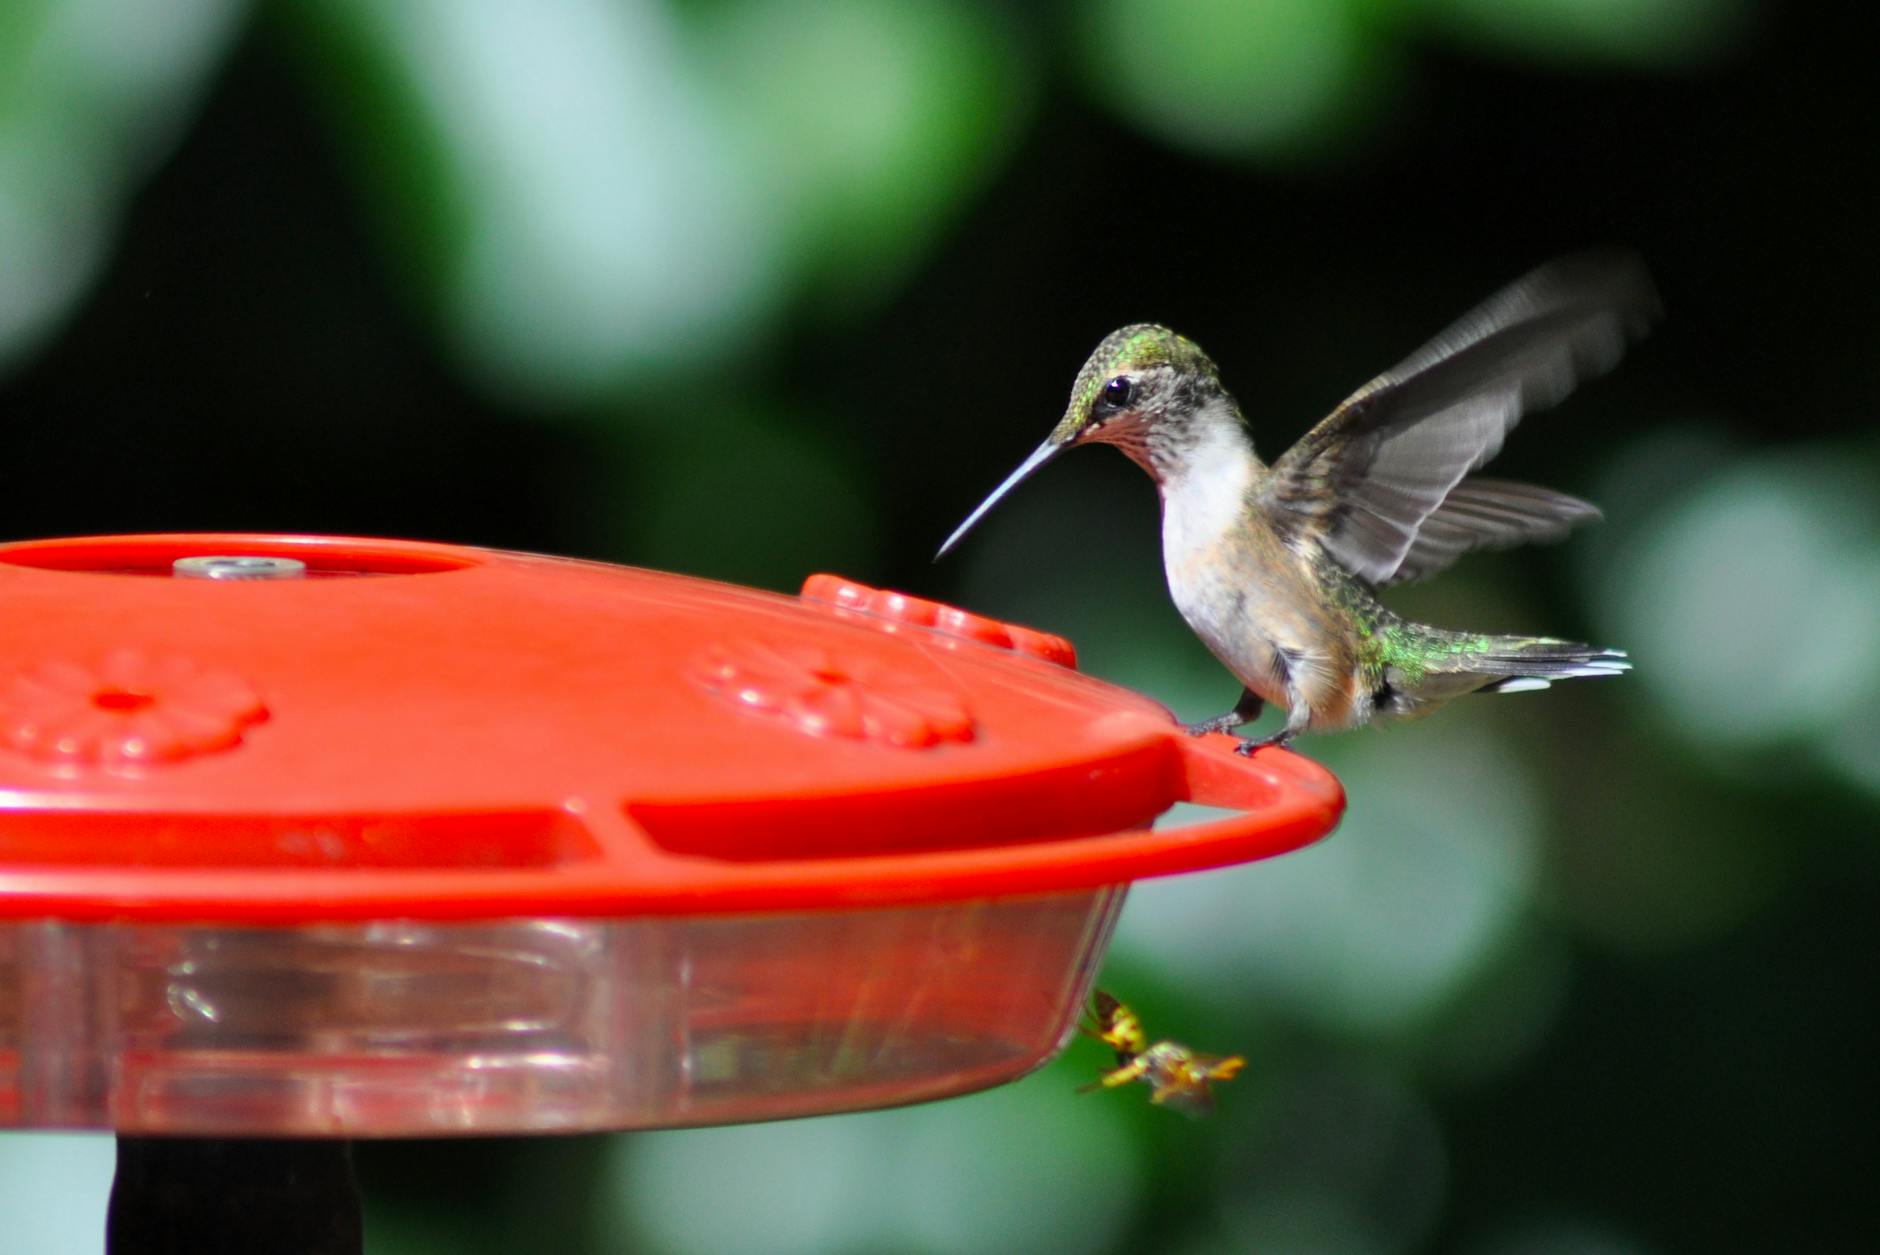
Photo by Chris F
Placement of Feeders
Placement significantly impacts the visibility of your feeders. Here are strategies to optimise their location:
- Sunlight: Position feeders to receive morning sunlight to encourage early feeding while keeping the nectar from spoiling too quickly.
- Sheltered Areas: Place feeders near natural shelters, such as trees and shrubs. These spots offer birds a resting place and protection from predators.
- Height: Hang feeders at eye level or a bit higher for easy viewing. Ensure they’re in open spaces to allow hummingbirds to approach easily.
To effectively attract more hummingbirds, consider offering multiple feeders throughout your garden. For more insights, check out How to Attract Hummingbirds to Your Yard.
Maintaining Clean Feeders
Cleaning your feeders is essential to prevent disease and keep hummingbirds healthy. Follow these guidelines:
- Wash Regularly: Clean feeders with hot water every few days, especially in warmer weather. Use a bottle brush to scrub the inside effectively.
- No Soaps: Avoid using soaps or detergents—these can leave harmful residues. Rinse thoroughly with hot water after cleaning.
- Inspect for Mold: Regularly check for mould or fermentation in the nectar. Replace nectar every 3 to 5 days to keep it fresh.
By maintaining clean feeders, you not only safeguard the health of these birds but also keep them returning to your garden. For a comprehensive look at feeder care, refer to Feeder Recommendations.


