How to Make Perfect Hummingbird Nectar at Home Safely and Easily
Hummingbirds are a delight to watch, their vibrant colors and rapid movements captivating anyone lucky enough to spot them. If you want to attract these tiny marvels to your yard, making your own nectar is an easy and rewarding solution. By using just two simple ingredients—sugar and water—you can create a safe, homemade option that keeps them coming back. It’s a healthier choice compared to store-bought alternatives, and it allows you to skip unnecessary additives like red dye. Ready to start? Let’s make your backyard a hummingbird haven.
Essential Ingredients for Hummingbird Nectar
Creating hummingbird nectar at home is simple, but the quality of the ingredients matters greatly to ensure their health. By focusing on just two primary elements—sugar and water—you can make a safe, nourishing food source for these energetic birds. Let’s look at why these ingredients are crucial and how to use them correctly.
Granulated Sugar

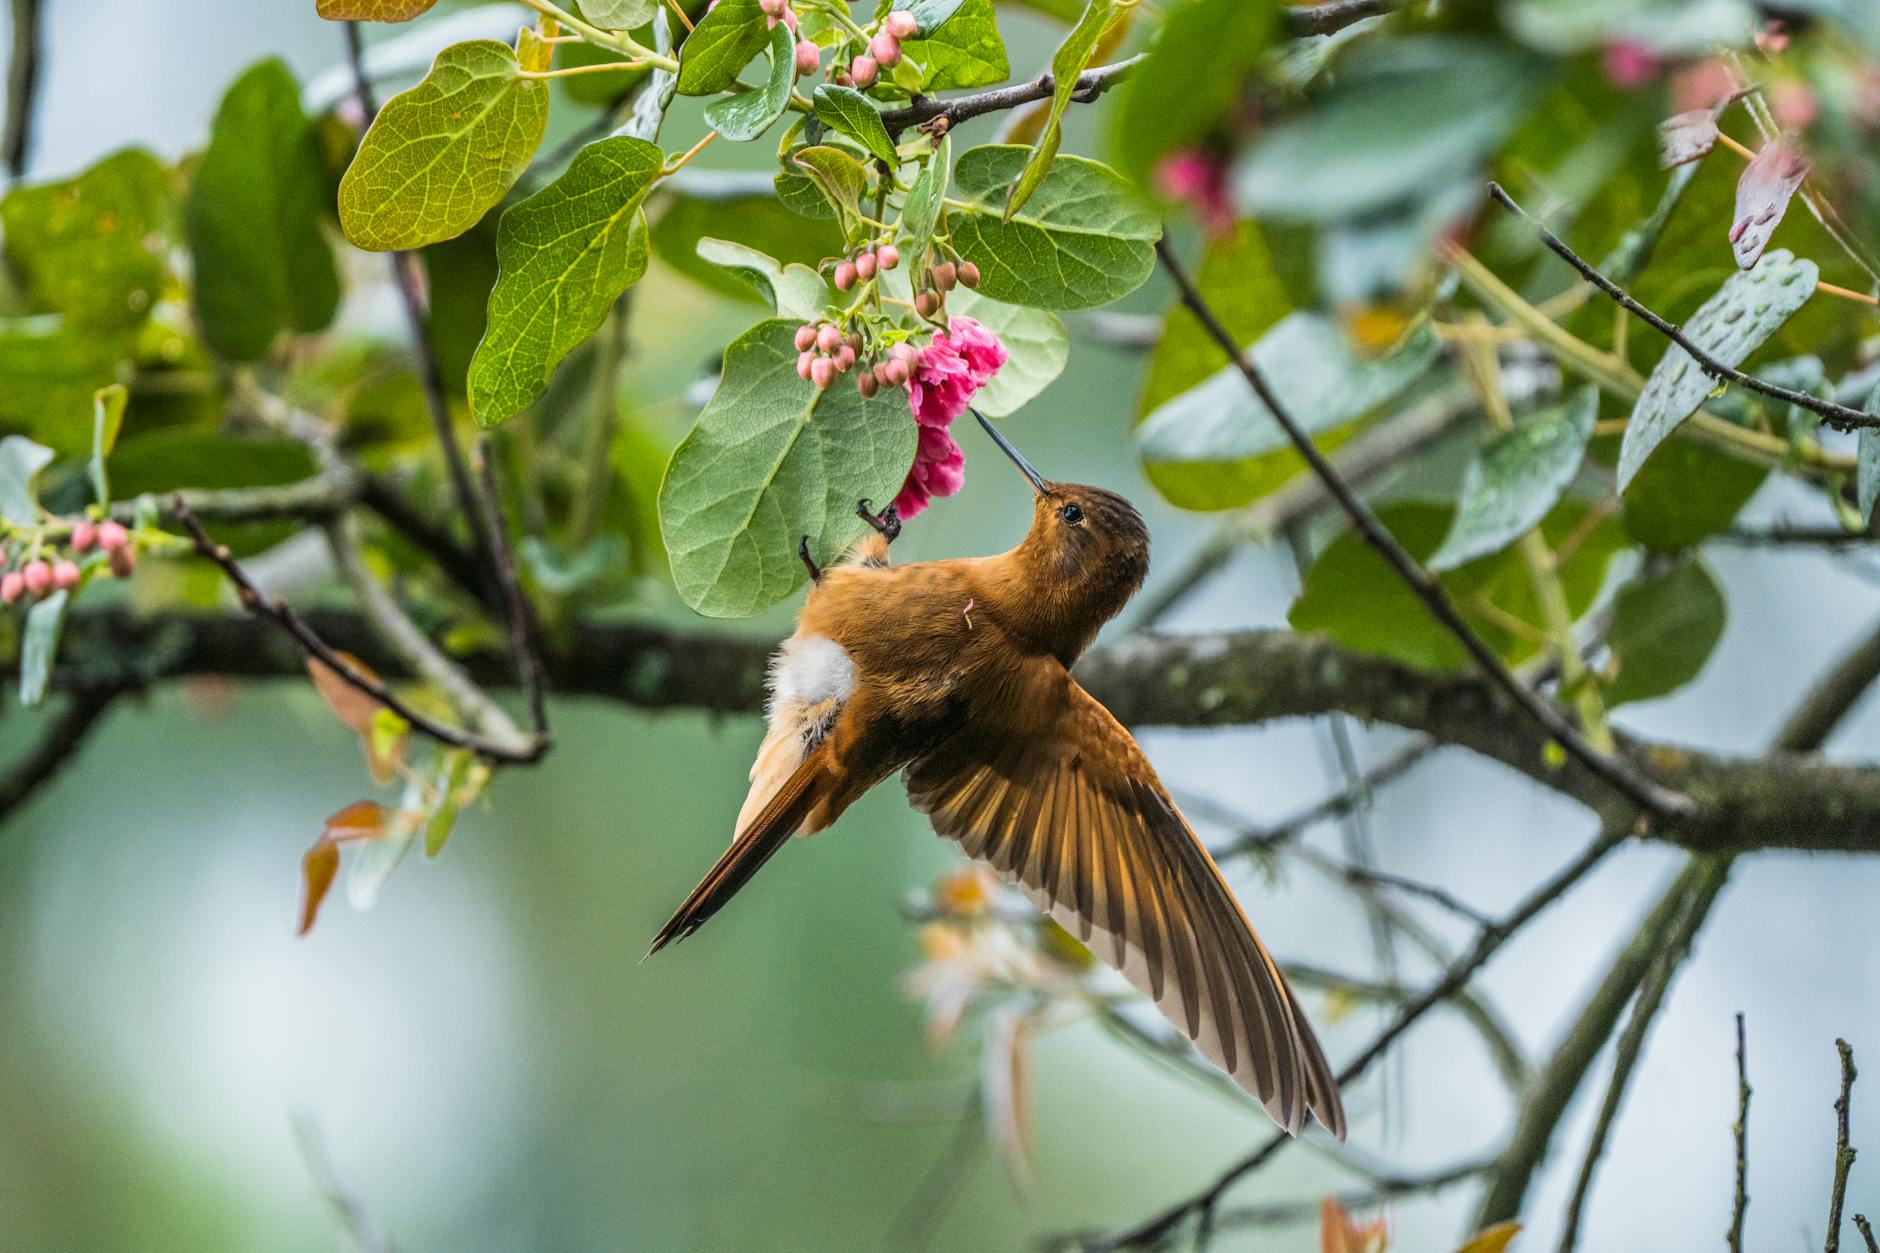
Photo by Juan Felipe Ramírez
The type of sugar you use matters. Always stick to plain white granulated sugar when preparing hummingbird nectar. Why is this so important? White granulated sugar closely mimics the natural sucrose found in flower nectar. It provides the proper energy source hummingbirds need to fuel their rapid movements and high metabolism.
Other sweeteners like honey, brown sugar, or artificial substitutes should never be used. Honey, for instance, can promote harmful bacterial growth, while brown sugar contains molasses, which is indigestible for hummingbirds. Similarly, avoid organic or “raw” sugars, as they often have impurities that can harm these delicate creatures. Keeping it simple ensures the safety of your visitors.
For a complete scientific breakdown of why white sugar is the safest option, check out this resource from Audubon.
Water
The second essential ingredient is water, and it may surprise you how much it impacts the nectar’s quality. Regular tap water works for most people, but if your area’s water supply is particularly hard or heavily chlorinated, consider using filtered water. Chlorine and other additives in water can alter the taste and safety of the nectar, potentially deterring hummingbirds.
Hot water is recommended for dissolving the sugar efficiently. There’s no need to overcomplicate—it’s best to use what you have readily available, but ensure it’s clean and safe.
When preparing the nectar, always maintain a 1:4 sugar-to-water ratio. This mirrors the concentration of natural nectar found in flowers and provides the optimal balance for hummingbirds’ dietary needs. For step-by-step instructions, visit National Zoo’s recipe guide.
By focusing on these two simple, readily available ingredients, you’re serving up a safe, irresistible meal for hummingbirds. Remember, small details can make all the difference when attracting and supporting these beautiful birds.
How to Make Hummingbird Nectar
Making hummingbird nectar at home is a straightforward process that ensures you provide a safe, additive-free treat for your feathered visitors. With just a few steps, you’ll have a steady supply of fresh nectar ready to keep these vibrant birds energized.
Mixing the Ingredients
The foundation of hummingbird nectar is simple: a mixture of sugar and water. Start by combining 1 part white granulated sugar with 4 parts water. For example, mix 1 cup of sugar with 4 cups of water.
Here’s how to do it step-by-step:
- Heat water on the stove or in the microwave. The water doesn’t need to boil, but warm water dissolves sugar faster.
- Gradually stir in the sugar, ensuring it fully dissolves. The mixture should look clear, without any granules at the bottom.
- Allow the nectar to cool before moving to the next steps. Unresolved sugar can harm hummingbirds, so accuracy here is key.
If you’re looking for more tips on this recipe, check out Audubon’s guide to making nectar.
Cooling the Mixture
Allowing the nectar to cool is crucial before pouring it into a feeder. Directly adding hot nectar can be dangerous for hummingbirds, potentially causing burns or deterring them due to heat.
Here’s how you can speed up the cooling process:
- Pour the warm nectar into a shallow container to increase the surface area and disperse heat faster.
- If you’re in a hurry, place the container in a bowl of cold water or in the fridge, but don’t let it freeze.
Avoid short-cutting this step! Patience helps ensure the safety of your feathered guests.
Filling the Feeder
Filling a feeder without spilling can be tricky, but with practice, it gets easier. Start by choosing a clean, dry feeder. Dirt or residue from previous batches can promote fungal growth, which is harmful to hummingbirds.
Here are some helpful tips for spill-free filling:
- Use a funnel for precise pouring, especially if the feeder opening is small.
- Avoid overfilling; leave a little space at the top of the feeder to prevent leaks.
- Wipe down the outside of the feeder after filling to remove any spilled nectar that might attract ants or bees.

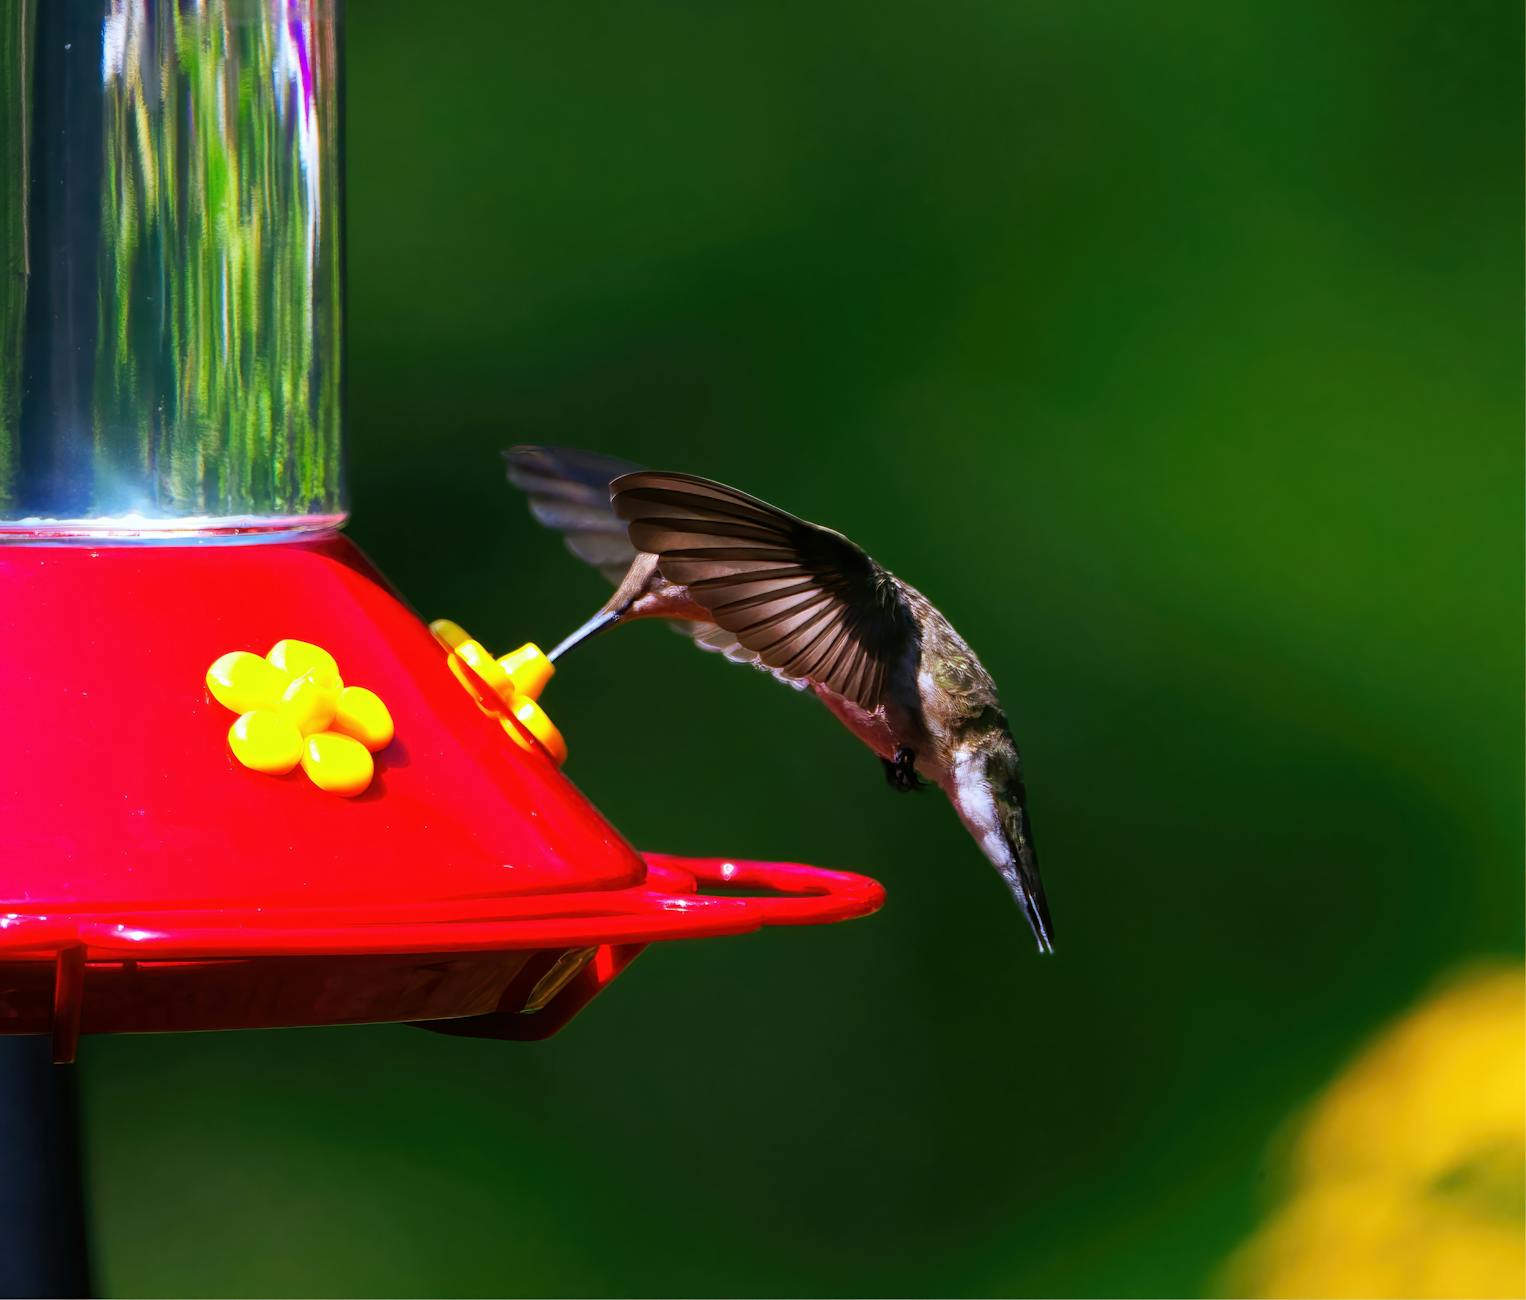
Photo by Chris F
Once filled, hang your feeder in a shaded area to keep the nectar fresh longer. Make sure the feeder is at a height that’s easy to check and clean regularly. For more feeder insights, visit National Zoo’s hummingbird nectar recipe guide.
By following these steps, you’ll not only attract hummingbirds to your yard but also ensure their safety and health with every visit.
Tips for Using Hummingbird Nectar
Creating homemade nectar is just the beginning of attracting hummingbirds to your yard. Ensuring the health and happiness of these tiny visitors requires some thoughtful practices. From keeping nectar fresh to finding the best feeder placement, here’s how to make the most of your efforts.
Best Feeding Practices
Keeping hummingbirds happy starts with maintaining your feeder properly. A dirty or neglected feeder can harm birds or drive them away, so sticking to a routine is essential.
- Change the Nectar Frequently:
Warm temperatures mean nectar can go bad quickly, sometimes in just 2-3 days. In hot weather, aim to replace it daily or every other day. Cooler climates may allow you up to five days. Spoiled nectar discourages visits and can be harmful to birds. - Clean Your Feeder Regularly:
A feeder should be thoroughly washed with warm water and a mild, bird-safe soap at least once a week. If the weather is hot, consider doing this every couple of days to prevent mold or bacteria from forming. - Avoid Overfilling Your Feeder:
Fill feeders only with enough nectar that birds can finish in a couple of days. This minimizes waste and reduces the chance of spoilage. - Check for Leaks or Cracks:
Damaged feeders can attract ants and bees or cause nectar to ferment faster. Regular inspections keep your setup hummingbird-ready.
For more specific advice, visit Essential Tips for Hummingbird Feeders.
Location of the Feeder
Where you place your feeder can make all the difference in attracting hummingbirds and keeping them coming back. They prefer spots that are safe, easy to access, and nearby natural habitat.

Photo by DANNIEL CORBIT
- Choose a Shaded Spot:
Nectar lasts longer when feeders are placed in the shade, as direct sunlight can quickly cause it to spoil. A location with dappled sunlight, like beneath a tree canopy, is ideal. - Maintain Visibility:
Position feeders where hummingbirds can easily spot them. Placing the feeder near flowers they already frequent is a smart approach. Bright colors, like red, can also help capture their attention. - Provide Hiding Spots:
Hanging the feeder at least 10 to 15 feet away from shrubs or trees gives hummingbirds a place to rest between feedings. These areas also offer shelter from predators. - Keep Away From High-Traffic Areas:
Avoid placing feeders close to windows or noisy areas that might startle hummingbirds. A calm, quiet zone ensures they feel safe while feeding.
For detailed placement tips, check out Where is the Best Place to Put a Hummingbird Feeder?.
Common Mistakes to Avoid
Making hummingbird nectar at home is straightforward, but it’s easy to fall into habits that could harm these delicate creatures. By knowing what not to do, you can keep your visiting birds safe and happy.
Using Red Dye
Adding red dye to your nectar may seem harmless, but it’s unnecessary and potentially dangerous. Bright flowers and feeders already attract hummingbirds, so the dye offers no additional benefit. Worse, the chemicals in red dye, including Red No. 40, have been linked to DNA damage and other health risks in animals. Hummingbirds are tiny, so even small amounts can have a big impact on their fragile bodies.
Instead, opt for clear nectar paired with a feeder that has natural red accents. This ensures attraction without risking the birds’ health. For more information on why red dye should be avoided, visit Journey North’s guide on red dye dangers.
Incorrect Sugar Ratios
Getting the sugar-to-water ratio right is crucial. Using the wrong proportions can make the nectar too thick, which can clog a bird’s digestive system, or too weak, which won’t provide adequate energy. The correct ratio? Always mix 1 part granulated sugar to 4 parts water. For instance, that’s 1 cup of sugar dissolved in 4 cups of water.
Avoid improvising with honey, brown sugar, or artificial sweeteners. These substances are harmful, promoting bacteria or fungal growth in feeders. Stick to plain white sugar and clean water. For more on proper nectar preparation, check out National Zoo’s hummingbird recipe guide.
Understanding and eliminating these common mistakes will make your yard a safer spot for hummingbirds.
Health Benefits of Homemade Nectar
Making hummingbird nectar at home isn’t just simple—it’s also highly beneficial for the birds and the environment. By choosing a homemade approach, you can provide a healthier, safer, and eco-friendly source of nourishment. Here’s why it matters.
Nutritional Value: Highlight the nutritional needs of hummingbirds
Hummingbirds are incredibly energetic creatures, with lightning-fast metabolisms to match their speedy movements. To sustain themselves, these tiny birds consume nectar as their primary source of energy. But not all nectar is created equally.
Homemade nectar provides the exact 1:4 sugar-to-water ratio recommended for optimal health, mimicking the natural sucrose found in flowers. This perfect balance supplies the carbohydrates hummingbirds rely on for energy:
- Fuel for Flight: Their wings beat over 50 times per second, which demands significant energy.
- Support for Metabolism: The sucrose in the nectar aids in maintaining their rapid caloric burn rate.
Unlike many store-bought options, homemade nectar is free of artificial dyes, preservatives, and additives that can harm their delicate systems. Curious about more on their nutritional needs? For additional insights, check out why nutrition matters for hummingbirds at Perky Pet.
Environmental Impact: Mention the eco-friendliness of making your own nectar
Beyond its health benefits for hummingbirds, homemade nectar is an eco-conscious alternative to pre-packaged versions. By making it yourself, you reduce waste and minimize your environmental footprint:
- No Single-Use Packaging: Store-bought nectar often comes in plastic containers or non-recyclable materials that contribute to pollution. Homemade nectar avoids this entirely.
- Fewer Transportation Emissions: The simplicity of sugar and water means you use what’s already available at home, cutting down on the environmental impact of transporting pre-made nectar.
In a world increasingly concerned with sustainability, even small choices like preparing nectar at home can make a positive impact. Learn how to take it a step further with eco-friendly practices for your yard, detailed in this guide.

Photo by DANNIEL CORBIT
By focusing on homemade nectar, you’re not just helping hummingbirds thrive—you’re also making a choice that supports a healthier planet.
Conclusion
Homemade hummingbird nectar is a simple, safe way to invite these remarkable birds into your yard. With just sugar and water, you can create a healthy food source free of harmful additives.
Make it part of your routine. By preparing fresh batches and keeping feeders clean, you ensure their safety and well-being. Plus, the joy of seeing hummingbirds thrive nearby is unmatched.
Why wait? Grab your ingredients and try it today. Your efforts will bring beauty and life to your backyard.


