How to Make Perfect Hummingbird Nectar at Home
Attracting hummingbirds to your yard is easier than you might think. These tiny, energetic creatures are drawn to sweet nectar, and making it at home is simple, cost-effective, and healthier for the birds. With just two basic ingredients—sugar and water—you can create a safe, dye-free solution that keeps your feathered visitors coming back. If you’re ready to enjoy the beauty and charm of hummingbirds up close, the right nectar recipe is the first step.
Understanding Hummingbird Nectar
Creating the perfect hummingbird nectar begins with understanding what it is and why it matters to these fascinating birds. Let’s explore its basic components and its importance in their diet.
What is Hummingbird Nectar?
Hummingbird nectar is a simple sugar-water solution designed to mimic the flower nectar these birds feed on in nature. This sweet liquid serves as a critical energy source for hummingbirds, fueling their rapid wingbeats and endless activity. In the wild, they sip nectar from flowering plants, which provides the sugars they need to survive. By offering homemade nectar, you’re effectively recreating their natural food source in your yard.
Homemade nectar typically consists of just two key ingredients:
- White granulated sugar: Supplies the carbohydrates hummingbirds turn into energy.
- Water: Dilutes the sugar, making it safe and easy for the birds to digest.
Unlike commercial options, homemade solutions avoid harmful additives like red dye, which can pose health risks to hummingbirds. Learn more about making safe nectar here.

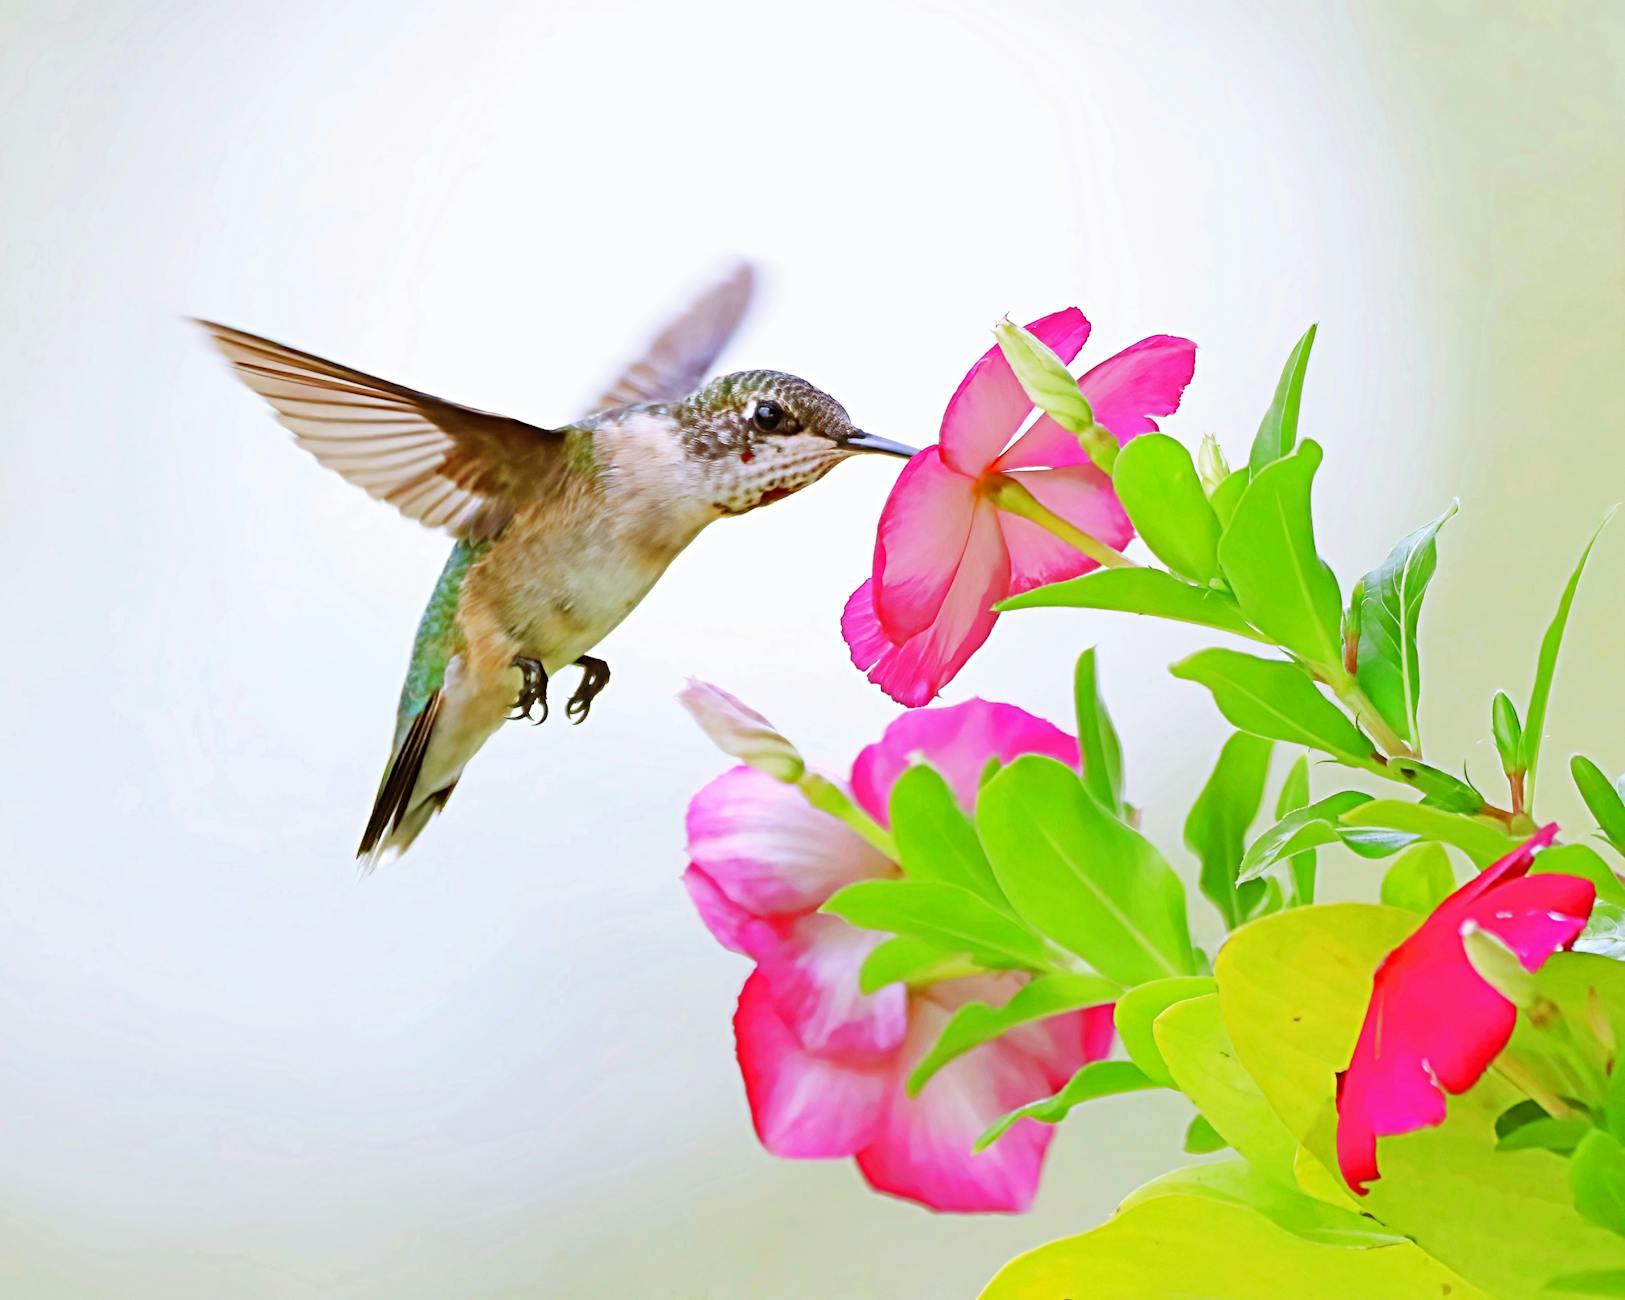
Photo by Lynn Nash
Why Sugar Water?
Why is sugar water the go-to nectar substitute instead of something seemingly more complex? Hummingbirds have unique nutritional needs that sugar water perfectly meets. They have one of the highest metabolisms in the animal kingdom, and their constant flapping burns calories at an astonishing rate.
Here’s why sugar water works so well:
- It offers a quick energy boost, essential for their survival.
- It mimics the carbohydrate-rich nectar found in flowers, replicating their natural diet.
- It’s simple, safe, and easily digestible for these delicate creatures.
While nectar provides energy, it’s not the entirety of their diet. Hummingbirds also consume insects for proteins, fats, and other nutrients. Think of nectar as their “coffee break”—a shot of energy that keeps them going. For more insight into their dietary needs, explore this in-depth guide.
By providing sugar water, you’re helping hummingbirds conserve energy they would otherwise spend searching for blooms. This small gesture on your part can make a big difference for them!
Ingredients for Hummingbird Nectar
Making hummingbird nectar at home requires minimal effort and just a few ingredients, but it’s crucial to get it right for the health of these tiny birds. In this section, we’ll break down the key components and share optional additions that can enhance the nectar.

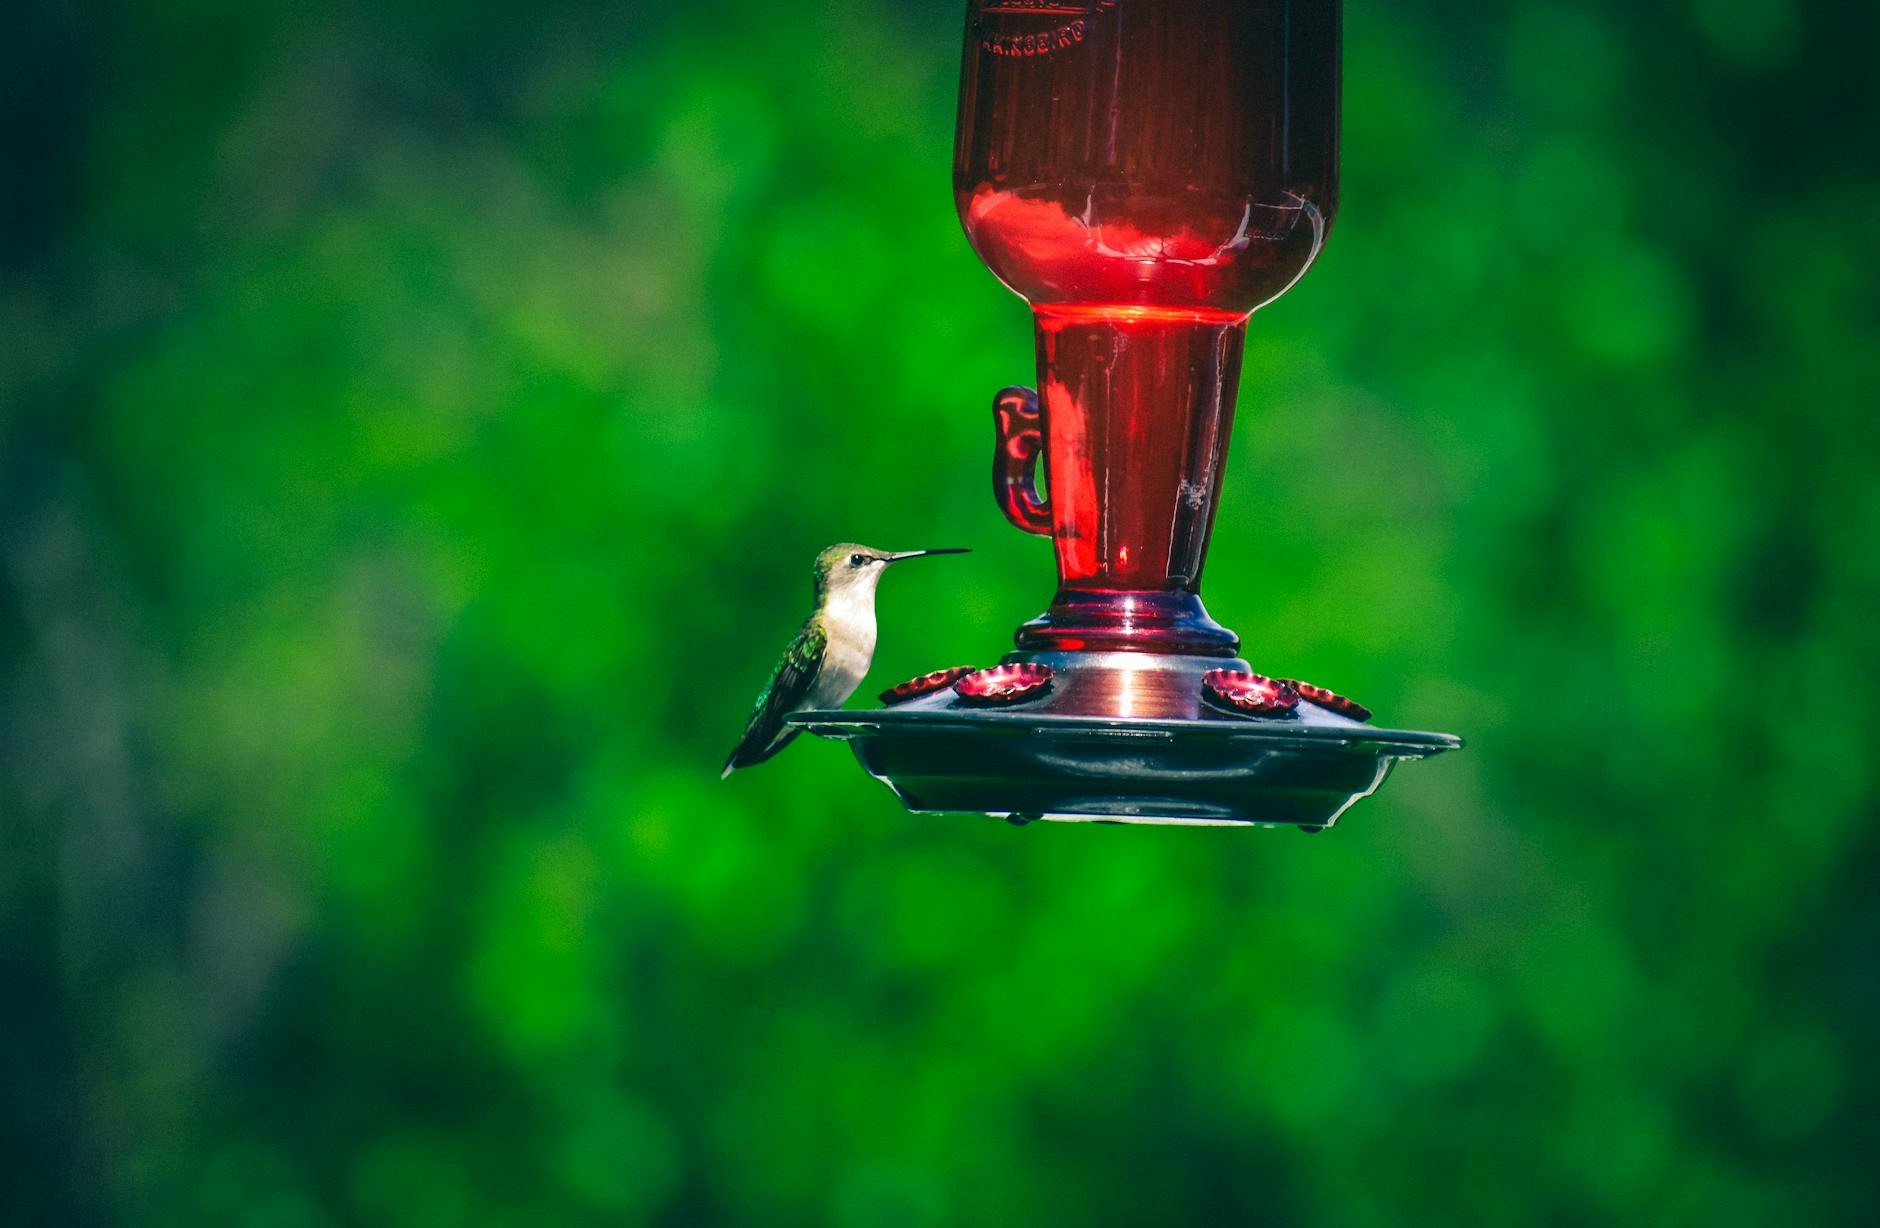
Photo by Janice Carriger
Basic Recipe
The most effective hummingbird nectar is also the simplest, requiring just two common ingredients: sugar and water. The golden ratio is 1 part sugar to 4 parts water, which closely mimics the sweetness of natural flower nectar.
Here’s how to prepare it:
- Mix 1 cup of white granulated sugar with 4 cups of water.
- Stir until the sugar dissolves completely. You can heat the water slightly to speed up the process, but let it cool before filling your feeder.
- Pour the mixture into a clean feeder.
Important tips:
- Use only white granulated sugar. Alternatives like brown sugar, honey, or artificial sweeteners can harm hummingbirds.
- Avoid adding red dye. While it may look appealing, it can harm the birds’ delicate systems. If your feeder lacks color, don’t worry—hummingbirds are still drawn to it. For more details on safe nectar preparation, check out this guide by the National Zoo.
Optional Ingredients
While sugar water is effective, some hummingbird enthusiasts explore optional additions to potentially benefit the birds further. However, exercise caution when adding extras, as their impact on the birds’ health is not well-documented.
Some optional ingredients include:
- Electrolytes: Adding a pinch of baking soda can mimic natural minerals found in flower nectar. Moderation is key to avoid harm.
- Organic Sugar: An alternative to standard refined sugar, though it lacks widespread scientific endorsement.
- Flavors: Some suggest steeping edible flowers (like hibiscus) in water before adding sugar. Ensure all flowers are free from pesticides.
If you’re new to making nectar, it’s best to stick with the basic recipe. Avoid unnecessary risks and prioritize the birds’ health. For more tips on hummingbird feeding, read this article by Audubon.
By mastering these ingredients, you’ll create a nectar that hummingbirds will love and thrive on.
Steps to Make Hummingbird Nectar
Creating your own hummingbird nectar at home is a quick and rewarding project. It only requires two basic ingredients: sugar and water. Not only is homemade nectar free from harmful additives, but it’s also simple to make and store. Let’s break it down step by step.
Mixing the Ingredients
The key to perfect hummingbird nectar is getting the proportions right. Using the correct sugar-to-water ratio ensures a product that closely resembles the sweetness of natural flower nectar.
- Combine 1 part white granulated sugar with 4 parts water. For example, mix 1 cup of sugar with 4 cups of water.
- Heat the water lightly to help the sugar dissolve faster. You can use a stovetop or microwave, but avoid boiling the water excessively—it’s unnecessary and can evaporate more water than intended.
- Stir the mixture until all sugar granules are fully dissolved. The liquid should be completely clear with no visible sugar residue at the bottom.
Remember, white sugar is non-negotiable here. Avoid substitutes like honey, brown sugar, or artificial sweeteners—these can be dangerous for hummingbirds. For more safety tips, refer to this helpful guide by Audubon.
Cooling and Storing
Once your nectar is ready, you’ll need to properly cool and store it to maintain freshness and keep your hummingbirds healthy.
- Allow the nectar to cool completely before pouring it into your feeder. Hot liquid can harm the birds or even distort plastic feeders.
- Refrigerate leftover nectar in a clean, airtight container. This keeps it fresh for up to a week.
- Before refilling your feeder, discard any nectar that’s more than a week old. Old nectar can ferment or grow mold, which is harmful to hummingbirds.
For optimal results, clean your feeder thoroughly with mild soap and water between refills to prevent bacteria buildup. Learn more from this detailed recipe guide.

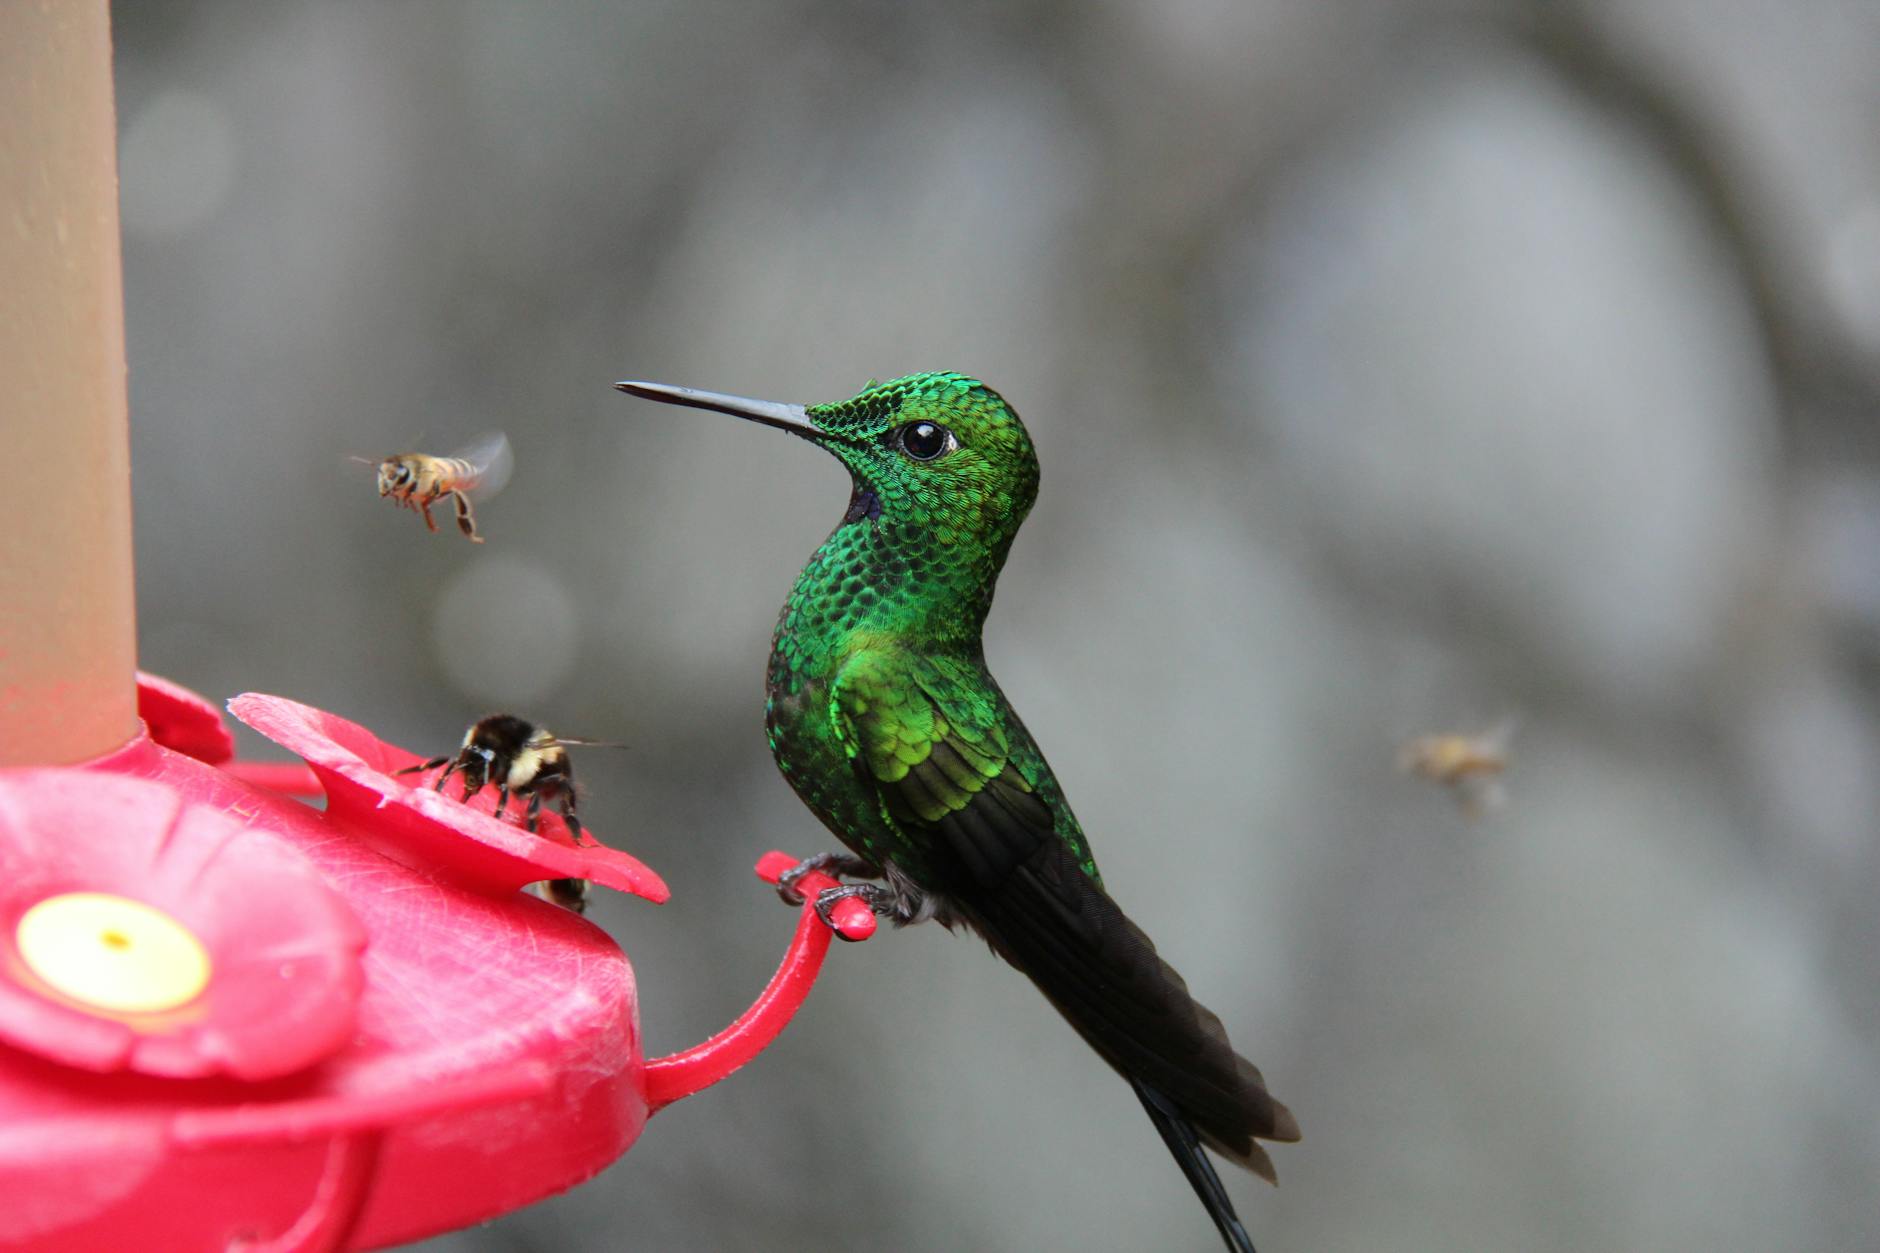
Photo by Chris F
By following these straightforward steps, your homemade nectar will be ready to keep your feathered friends happy and healthy.
Using Hummingbird Nectar
Successfully preparing hummingbird nectar is only half the journey; using it effectively is just as important. Keeping feeders filled and clean ensures these delicate birds frequently visit your space and stay healthy. Let’s discuss the essentials.
Filling the Feeder: Guide on filling hummingbird feeders with nectar
Filling a hummingbird feeder might seem straightforward, but the process matters more than you think. Properly filling and positioning your feeder ensures it’s enticing to hummingbirds and easy to maintain.
- Choose the Right Feeder: Opt for a feeder with bright red accents as it naturally attracts hummingbirds. Avoid feeders with intricate designs that are hard to clean.
- Fill Carefully: Pour the freshly cooled nectar into your feeder, leaving a small gap at the top. Overfilling can cause leaks, which attract ants and other unwanted intruders.
- Position Thoughtfully: Hang your feeder in a shaded area to keep the nectar fresh longer. Ensure the feeder is visible but placed away from high traffic areas to minimize disturbance.
For step-by-step guidance on positioning and other feeder tips, refer to this helpful article.

Photo by DANNIEL CORBIT
Maintaining Your Feeder: Tips for keeping feeders clean and full to attract hummingbirds
Keeping your hummingbird feeder clean isn’t just about aesthetics—it’s crucial for the birds’ health. Dirty feeders can harbor mold and bacteria, which can harm the hummingbirds.
- Clean Regularly: Wash your feeder at least every 3–5 days, more often in hot weather. Soak all parts in warm, soapy water and rinse thoroughly. Avoid harsh chemicals. For more in-depth tips, check this guide.
- Change Nectar Frequently: Discard old nectar before it ferments or grows cloudy, usually within 2–3 days in the summer. Always refill with fresh nectar.
- Inspect for Leaks: Regularly check for cracks or leaks in your feeder. Leaking nectar not only wastes your efforts but attracts ants and bees, discouraging hummingbirds from visiting.
By maintaining your feeder, you create a safe, inviting oasis that hummingbirds will return to time and again. For more comprehensive care instructions, see this detailed article on cleaning hummingbird feeders.
Common Mistakes to Avoid
When it comes to making your own hummingbird nectar, small errors can have big consequences for the birds. Whether you’re new to this or consider yourself an expert, it’s easy to overlook a few key details. Here are the most common mistakes people make and how to avoid them.
Avoiding Red Dye

Photo by Dick Scholten
The bright red coloring often found in some commercial hummingbird nectar might look appealing, but it’s entirely unnecessary and could harm the birds. Many people add red dye thinking it makes their feeder more attractive, but the feeder itself—if equipped with red accents—does the job just fine. Hummingbirds are naturally drawn to red hues.
Why is red dye a problem? It can lead to:
- Health risks: Studies suggest that consuming red dye over time may contribute to health problems, including liver damage and tumors in hummingbirds.
- Additive overload: These dyes serve no nutritional benefit and add a foreign substance to the nectar that birds don’t need.
To keep your nectar safe, simply skip the dye altogether. If you’re worried about attracting birds, focus instead on maintaining a clean, red-colored feeder. For more information, read this guide on why red dye is harmful.
Incorrect Ratios
The sugar-to-water ratio is not just a guideline—it’s essential. Incorrect ratios can lead to a nectar that is too diluted or too concentrated, both of which can harm the hummingbirds.
- Too much sugar: A richer solution may attract ants and bees, and it’s harder for birds to digest. It might also damage their delicate organs over time.
- Too little sugar: A weaker solution fails to provide the energy hummingbirds need for their high metabolism. It’s like serving them flavored water instead of real food.
The perfect ratio is 1 part sugar to 4 parts water, closely resembling the natural nectar found in flowers. For example:
- 1 cup of sugar to 4 cups of water.
- Stir until you can’t see any undissolved sugar.
Stick to white granulated sugar and avoid alternatives like honey, brown sugar, or artificial sweeteners, which can ferment quickly or prove toxic. For a reliable recipe, check out this hummingbird nectar guide.
When you take these simple precautions, your hummingbird visitors will stay happy and healthy.
Benefits of Making Your Own Hummingbird Nectar
Making your own hummingbird nectar offers more than just cost savings. It ensures your tiny visitors are getting the safest and freshest food possible. Hummingbirds are incredibly delicate creatures, and your homemade solution can contribute to their well-being in ways that store-bought options simply can’t match.
Why Homemade Nectar Beats Store-Bought
When you make your own nectar, you have complete control over the ingredients and the process. Here’s why that’s important:
- No Additives: Store-bought options often contain preservatives or red dye, which can harm hummingbirds. With homemade nectar, you know it’s free from potentially harmful substances. Read more about why homemade nectar is a better choice.
- Fresher and Healthier: Pre-made solutions may sit on shelves for months. Homemade nectar is always fresh, reducing the risk of bacteria or mold growth.
Affordable and Simple
Why pay for packaged nectar when you likely already have the ingredients in your pantry? A bag of granulated sugar and tap water is all you need. The 1:4 sugar-to-water ratio isn’t just effective—it’s also incredibly budget-friendly. Plus, making it takes less than five minutes. Curious to learn more? Check out this quick recipe guide.
A Special Connection with Nature
Feeding hummingbirds transforms your backyard into a lively, colorful haven. When you make their food yourself, you’re part of their daily survival. Watching them drink from a feeder you filled creates a sense of personal connection and responsibility.

Photo by DANNIEL CORBIT
By choosing to make your own nectar, you’re not just saving time and money—you’re making a real difference for these tiny marvels of nature.


